We have upgraded our collection of random rusting radiators and fitted Jaga radiators. Because these have their own thermostats on them, they give us more control over room temperatures. We have also fitted zone valves to each floor so that we can heat different areas at different times (particularly because we mostly work from home). The radiators incorporate fans which pull the heat from the water, so we can run the heating at lower flow temperatures. They also have a boost setting, so if the room is particularly cold you can speed up the fan and also the heating process. The noise is similar to a computer cooling fan and we quickly stopped noticing it most of the time, although for light sleepers a radiator with no fan in the bedroom would have been better.
Month: January 2012
Kitchen
 The first phase of work on the kitchen has been completed, including a structural steel cabinet which houses two ovens and holds up the chimney. The stainless steel worktop was bent locally to create a shape that will hold up cupboards (except over the hob) and creates an elegant shape with no nasty corners to catch muck in.
The cupboard doors and drawer fronts are made from recycled timber from a demolished high school lab benches.
We’re currently slightly stuck on choosing the ideal board to make the sides of the cupboards and drawer unit out of – current choices include 100% recycled coloured MDF which is lovely but involved buying a whole pallet from Germany when we only need two boards (despite them having a UK subsidiary) or calcium silicate or magnesium oxide which would be ideal if they were made from industrial waste products but the ones we’ve found seem to be freshly mined for the purpose.
The idea is to create a kitchen that will last, with no intention of changing it for a more fashionable one in a few years time, and avoiding the use of plastic covered chipboard which is very difficult to recycle and not a very good idea to burn either.
Internal insulation for big rooms with no cornice
In the kitchen, there is no cornice (someone had put in a 1970s sauna style tongue and groove pine ceiling that fell off when we looked at it hard) and it’s a reasonably large room, so we used a thicker internal insulation instead of the aerogel.
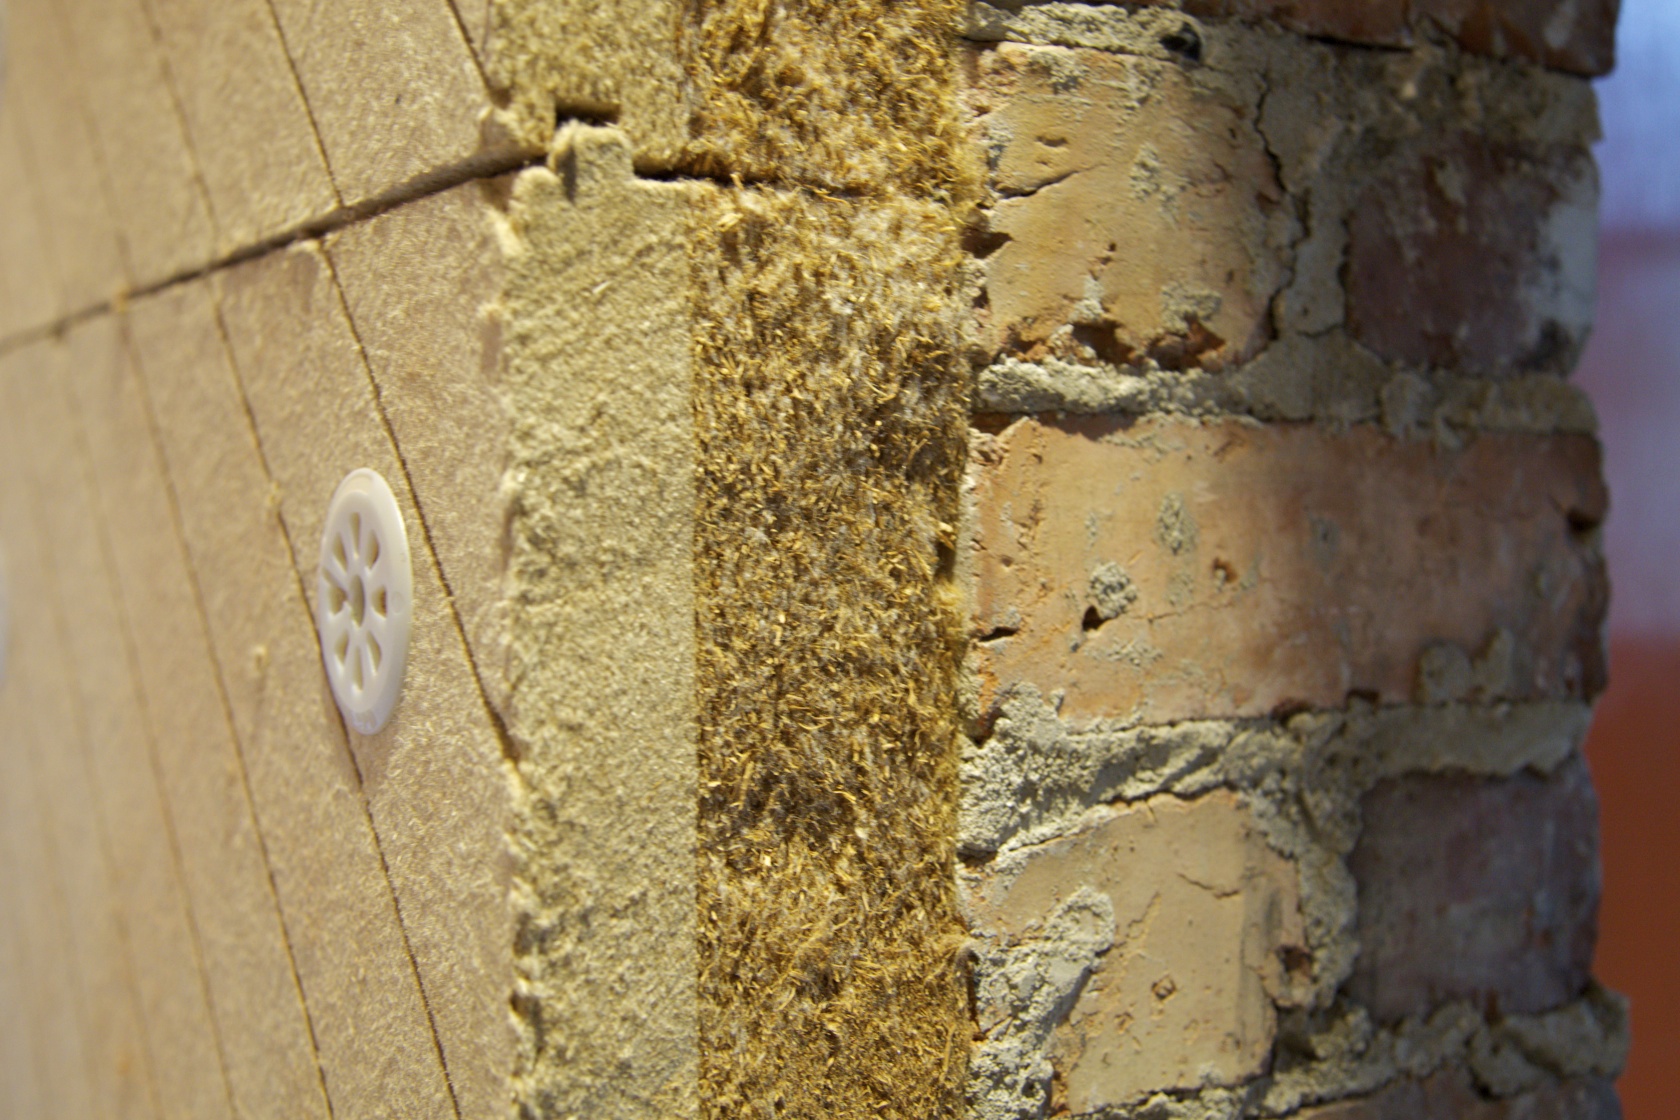
This is Udi In Reco, 120mm thick, similar to the external insulation but with a special smooth internal render as the vapour control layer. This fixed to the wall with much less trouble than the aerogel, using adjustable long screws with plastic plugs on the end. It did mean some joinery work to extend the window cills and surrounds, but these were made with recycled old timber from other parts of the house so the colours match.
You can buy this insulation from Back to Earth.
Floor insulation
We have now insulated beneath all of the ground floor by removing the cellar ceiling and stuffing the gap between the joists with 200mm of hemp (except over the biomass boiler where we used 200mm of rockwool).

This was a lovely material – cuts with a bread knife, smells like harvest time, and no more freezing cold feet. By cutting it slightly large, it holds itself in place with no fixings. It was supplied by Back to Earth (see links for more info).
Eventually we’ll put the plasterboard back, which will be even better.
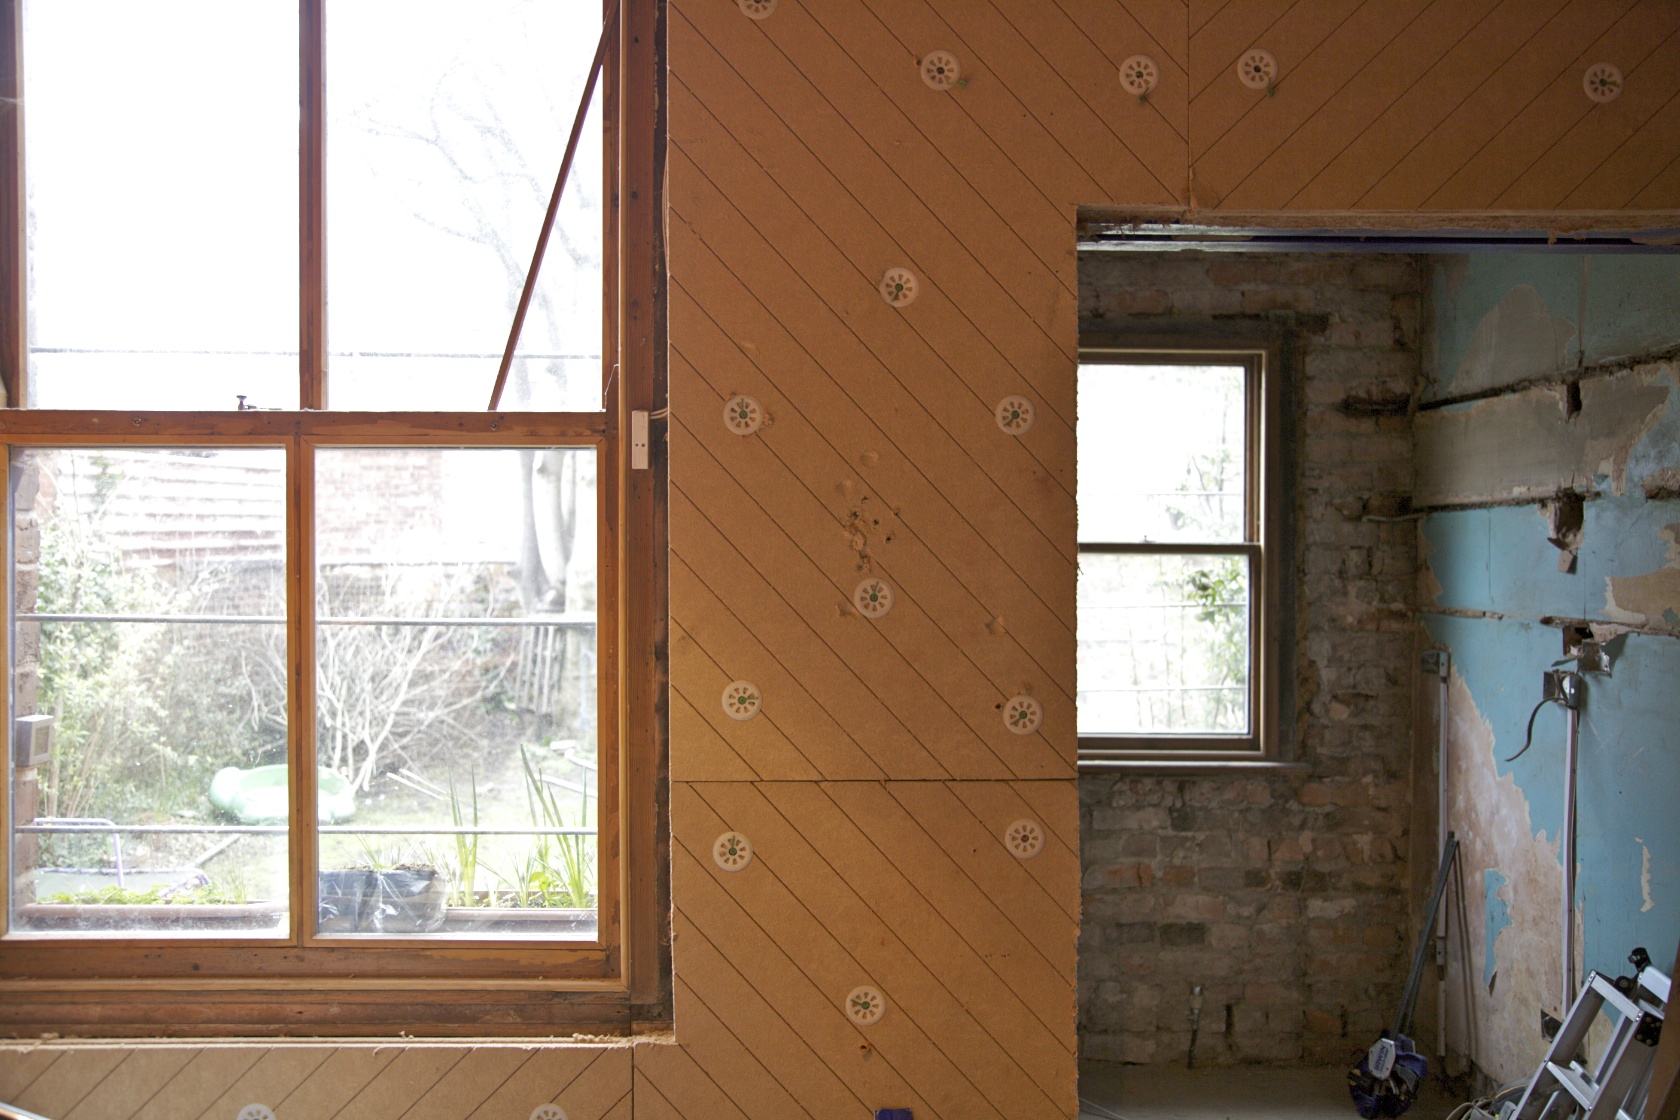
Internal insulation
We finally did the job of removing the plaster from the end wall of each room (the gable wall is already insulated externally) and replacing it with Fermacell board with a triple layer of aerogel bonded to it (27mm thickness in total). The main problems were the dust created by the plaster removal, which gets around any attempt to sheet off the doorway of the room involved, and actually fixing the boards to uneven Victorian brickwork. We didn’t use a nail gun as the bricks vary wildly in softness and quality of fix, so in the end after much trial and error (for which read swearing, in both English and Polish) the fixing method was : cut the boards outside (wearing dust masks because aerogel dust is really unpleasant), drill a hole through the board only then take a sharpened 6″ nail to make a mechanical hole in the polyester mat, then a cheap soldering iron with a long thin bit used to melt the polyester out of the way, then a tool of a brass tube in a piece of plywood is put through the hole to shield the drill bit while drilling a 4mm hole in the brickwork, remove brass tube and replace with piece of pub drinking straw and screw in fixing. The pub straw was later ditched in favour of a frame screw which already has a plastic plug on it. BUT calculatation suggest, and the thermal camera confirms, that this fixing method creates significant cold bridges which reduces the efficiency of the board. If we were able to find a way of countersinking it we would use the plastic fixings with a nylon pin to produce no cold bridge, but these need to be recessed 3mm into the Fermacell if you want to be able to use the Fermacell surface finish and avoid plastering. If plastering is not a problem these could be used without countersinking and plastered over. We kept the board depth to a minimum and did not remove the cornices in the room, so the board just replaces the original plaster layer.

While this work was going on we also found huge amounts of cold air was getting in around some of the sash windows – as soon as the window surround was removed it was clear that a second world war bomb had blown the windows in and they had been shoved back out without being properly refixed (in 1941 judging by the newspapers packing the spaces). So we were able to seal up these air paths too. Next summer we need to replace the pointing around all the windows while they are repainted.

The good news is that the house feels significantly warmer!